How to create a custom digital certificate on MS Word

A practical step by step guide for creating professional digital certificates using MS Word and custom design tools.

Dec 8, 2025
6 min
|      by
Nils Wegner
digital badges education

Why Create a Custom Digital Certificate in MS Word

Digital certificates are widely used by education providers such as training centers and universities. MS Word is often chosen because it is easy to use and allows quick layout adjustments without advanced design knowledge. It is suitable for small certificate batches or one-time creations, although it has limitations related to manual work and security.

Key points:

  • MS Word is widely available and familiar to most users.
  • Works well for simple layouts and small numbers of certificates.
  • Manual personalization is time consuming and prone to errors.
  • Traditional PDF certificates can be modified easily, which reduces security.
  • MS Word can be a good starting point, but once certificate volume increases, automated solutions usually become more efficient. Before placing text elements in Word, a professional background design is required.

In this article, we will walk you through all the basic steps that you need to take, to create a digital certificate using Microsoft Word.

1. Creating a Professional Certificate Background

A clean and well-designed background forms the visual base of your certificate. It is best created in design tools like Canva, Figma, Photoshop or ChatGPT image functions instead of MS Word. These tools offer better control over branding and layout.

Essential steps:

  • Choose a suitable orientation, often A4 landscape, or US Letter.
  • Set high resolution for sharp output, for example 1920 x 1080 px.
  • Export the final background as PNG or JPG.
  • Leave enough white space for later text boxes.
  • Place logos and visual elements according to your brand style.

Design recommendations:

  • Use consistent colors and fonts that match your institution.
  • Create clear areas for name, course title, date and signatures.
  • Keep decorative elements subtle so they do not distract from key information.

Once the background is exported, it is ready to be imported into MS Word for further customization.

You can use a blank certificate background from the Virtualbadge.io template library as a placeholder image.

2. Importing the Background into MS Word

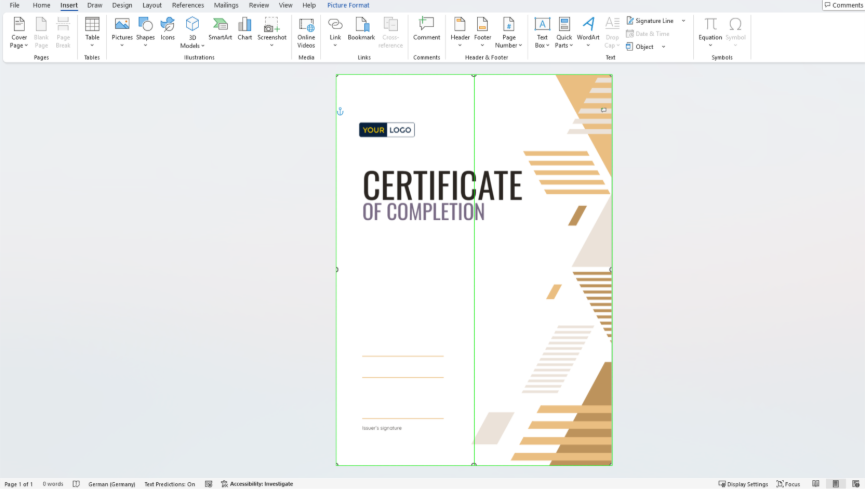
Once the background design is ready, it can be added to MS Word so the certificate layout becomes editable. The goal is to place the background as a fixed element while keeping text areas flexible.

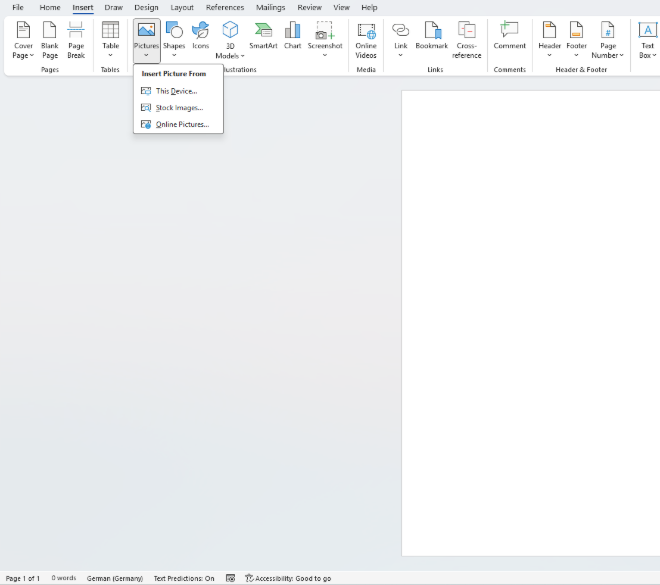
Steps to insert the background:

  • Open a blank Word document.
  • Go to Insert, then select Picture and choose your PNG or JPG file.

  • Adjust the size, so the image covers the entire page.

  • Use the Layout Options menu and set the image to Behind Text.

  • Lock the aspect ratio to prevent distortion.

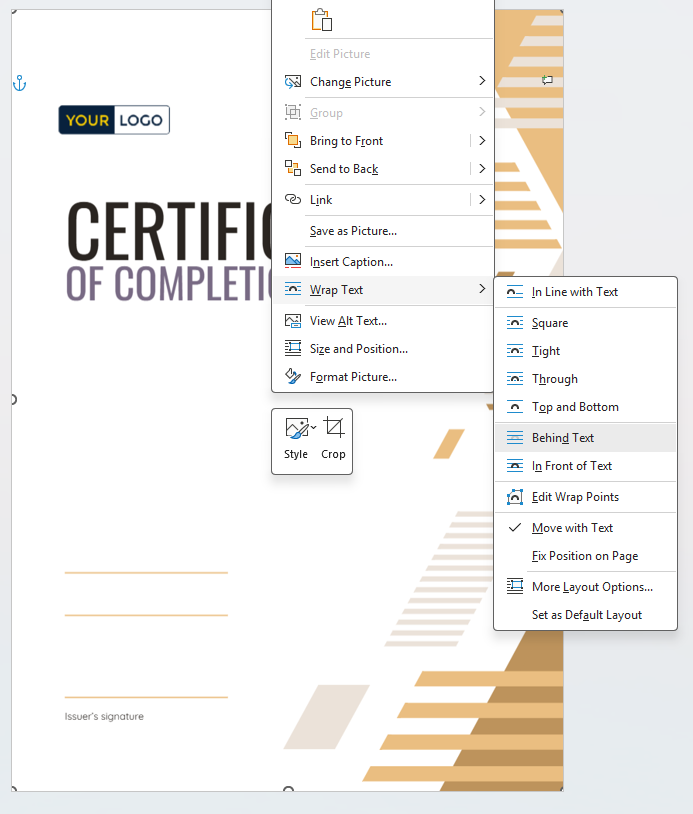
Recommendations for clean layout results:

  • Use A4 or Letter size depending on your region.
  • Check the margins under Page Layout and reduce them if needed.
  • Ensure the background does not stretch or pixelate.
  • Save the document as a template if you plan to reuse it.

At this stage, the certificate has a visual base and is ready for text elements such as names, course titles and signatures.

3. Adding and Formatting Text Boxes in MS Word

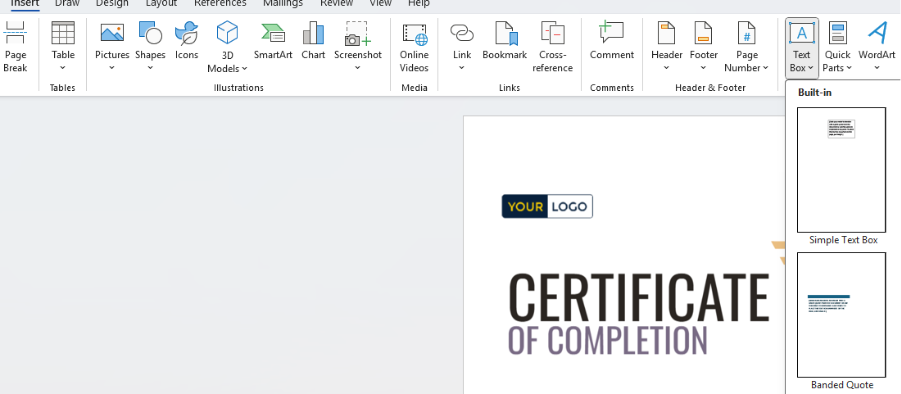
Text boxes allow you to place certificate information precisely where it belongs. They help structure content cleanly and ensure that each element stays aligned.

Elements usually included in a certificate:

  • Recipient name
  • Course or program title
  • Brief course description
  • Date of completion
  • Signature fields
  • Institution name or seal

Steps to add text boxes:

  • Go to Insert and select Text Box.

  • Draw the box in an area reserved in the background layout.
  • Type in the placeholder information and format it.
  • Align text boxes using the built-in alignment guides.

  • Duplicate boxes if several have similar formatting.

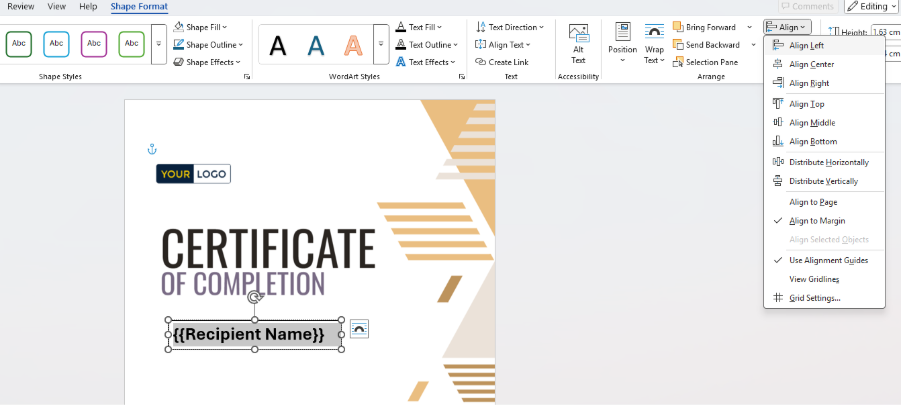
Formatting tips for a professional appearance:

  • Use clean, serif or sans serif fonts such as Times New Roman or Arial.
  • Ensure high contrast between text and background. If you are not sure how to ensure this, use some free tools such as WebAIM or Coolors.
  • Use consistent font sizes for hierarchy, for example larger for names and titles.
  • Keep spacing balanced to avoid overcrowding the page.

4. Saving the Certificate as a PDF

Once the layout is complete in MS Word and all text boxes are in the correct position, the certificate needs to be exported as a PDF. This ensures a consistent output and makes it easy to store or share the file. Many organizations also upload the Word template to Microsoft Teams so that multiple team members can access, edit or reuse the certificate design.

Steps to export:

  • Go to File and select Save As.
  • Choose PDF as the output format.

  • Check Options and activate high quality export settings.
  • Review the preview to confirm the correct placement of text and images.

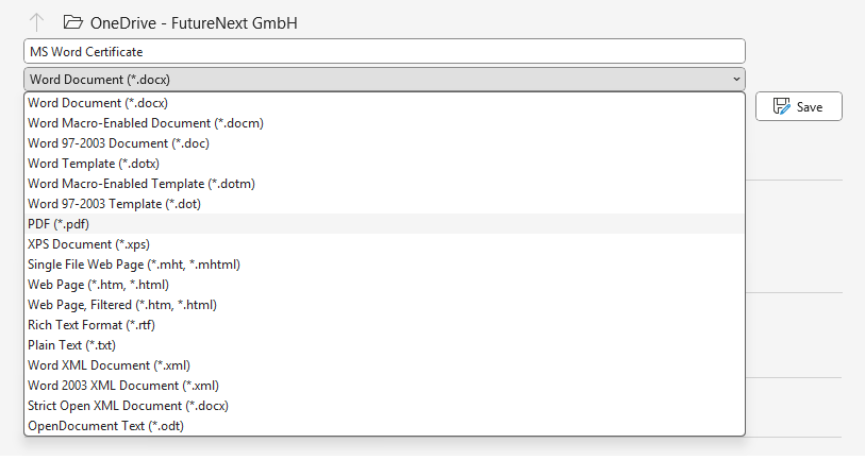
Recommendations for clean PDF output:

  • Avoid low resolution settings that weaken the background quality.
  • Double check margins and alignment before finalizing.
  • Save a separate Word version to upload into Microsoft Teams for team access.
  • Store certificates using a clear naming convention for easy retrieval.

Why cloud storage is useful in this context

  • Shared Word templates ensure consistent certificate design across the organization.
  • Multiple staff members can access, edit or personalize certificates without creating local duplicates.
  • Templates remain centrally stored, reducing the risk of outdated versions being used.
  • Cloud access supports version control and seamless collaboration across departments.

Important note. Standard PDF certificates remain vulnerable to unauthorized edits. This makes authenticity verification essential. For further insights, the article “How to Protect Your Certificates from AI Fakes” provides useful context on modern security risks and validation methods.

Once saved, the PDF certificate is ready to be distributed, uploaded to learning systems or archived. If certificate volumes increase, manual PDF creation becomes inefficient, and automated solutions provide significant advantages.

A Faster Alternative. Creating Certificates Automatically with Virtualbadge.io

Using MS Word works well for simple or occasional certificates, but many organizations eventually look for a faster and more reliable way to issue digital credentials. Automated systems reduce manual work, eliminate formatting errors and increase security. Virtualbadge.io offers these advantages while still allowing users to keep their own design. If a certificate was created in Word, the background can simply be exported as a PDF or image and uploaded to the platform as a template. You can also try our certificate generator, where you can design your own certificate for free

Key reasons why teams switch from Word to automation:

  • Automatic personalization of recipient names, dates and course details.
  • Bulk creation of hundreds or thousands of certificates in one process.
  • Integrated email delivery without exporting individual PDFs.
  • Validation pages and QR Codes to confirm the authenticity of each certificate.
  • Social sharing options that help participants promote their achievements.

Working with templates:

  • Export the certificate background from Word as a PDF or PNG.
  • Upload it directly into Virtualbadge.io as a design template.
  • Insert dynamic fields that automatically pull participant data.
  • Issue certificates by simply uploading a CSV list with the names and emails of all recipients.

Security and authenticity:

  • Each generated certificate includes a unique validation link.
  • Third parties can verify authenticity instantly.
  • This significantly reduces risks associated with editable PDF files.

Practical example:

The SRH University Success Story demonstrates how educational institutions streamline certificate distribution by automating creation and delivery. It shows how teams avoid repetitive formatting steps and reduce time spent on administrative tasks.

Ready to simplify your certificate process?
Book a free demo and our team will show you the possibilities with Virtualbadge.io.

* You can find the organisation ID in the URL when you access your LinkedIn Company page as an admin.

Send, Manage and Verify Certificates

Use Virtualbadge.io to design and send digital certificates that create trust - in less than 10 minutes.

Ready to start issuing digital certificates that build trust?
START NOW
7-DAY FREE TRIAL